In case you didn’t know, I have short hair. No, really short. I don’t have the luxury of getting my hair all done fancy for special events, like, I dunno… a wedding. I’ve been pinning pictures of brides with short hair for awhile to get a feel for my options. You know what? There aren’t too many pictures of brides with short hair on the interwebs! But the ones I did find looked super cute with a simple headband.
Next step was to price headbands, and when I saw that they run at least $25 or $30 (sometimes more), I thought I could make something I really liked myself, for cheaper (probably). So I started pinning DIY headband tutorials like this one. I still didn’t have a clear picture in my mind of what I wanted, but I was anxious to get crafty, so I headed off to Hobby Lobby.
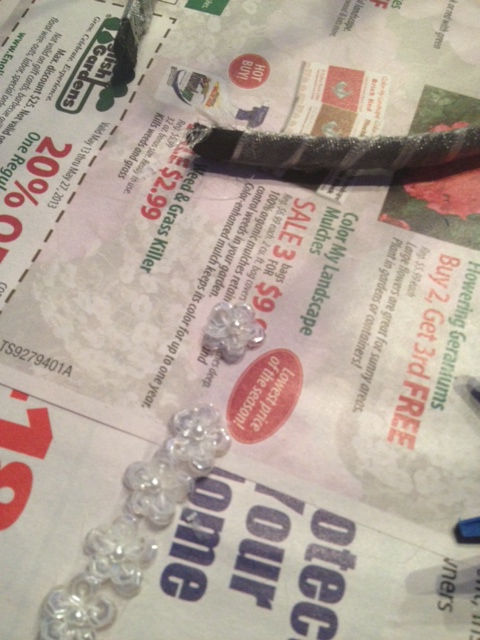
This is what I came home with:

All told, I spent about $16 including tax on the various supplies. I sat down one afternoon and started playing with the supplies, literally throwing things together to see what came out. One of the first things I did was wrap the off-white ribbon (the kind that has a bit of wire in the edges, so it stays put) around the headband. This particular headband even had a handy little wrap of ribbon around the ideal spot to place a feature embellishment:


(And even better, there happened to be a knot in the ribbon that ended up right at that spot, so I could still locate it after I wrapped the headband!) I hot glued the ends of the ribbon to the headband when I was done wrapping.
Next I started playing with which embellishment would go on the headband. I had picked up some flat-ish crocheted flower shapes in the scrapbooking section and started playing around with those to see if I could make it into something that looked decent:


Then I stitched them down to the black felt right down the center, so it would stay in place.
Next I started beading the center of the flower with some glass pearls (4mm, I think), and some light pink crystal beads:
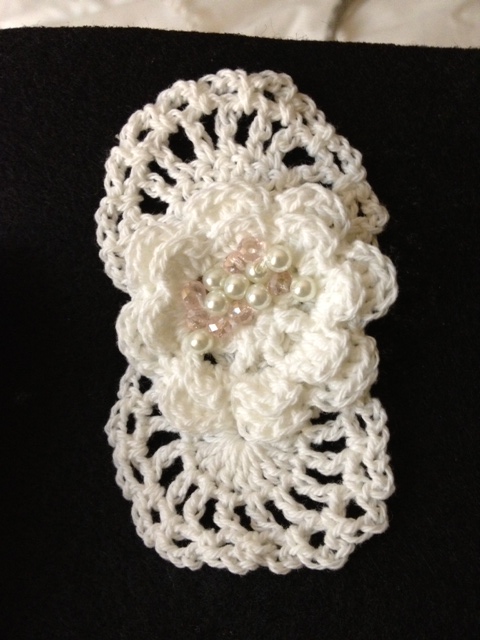
When I finished with the flower center, I added some “bridal trim” to the outer spokes. The trim came in one long piece, but I simply cut each individual flower off and hot glued it in place:

Next I hot glued all of the edges to the black felt, and cut the felt shape out. I put a dab of hot glue right on the headband, and placed the embellishment on the dab of glue. Then I cut some felt patches to glue to either side of the band to hold the embellishment in place:

And then I tried on the finished product:

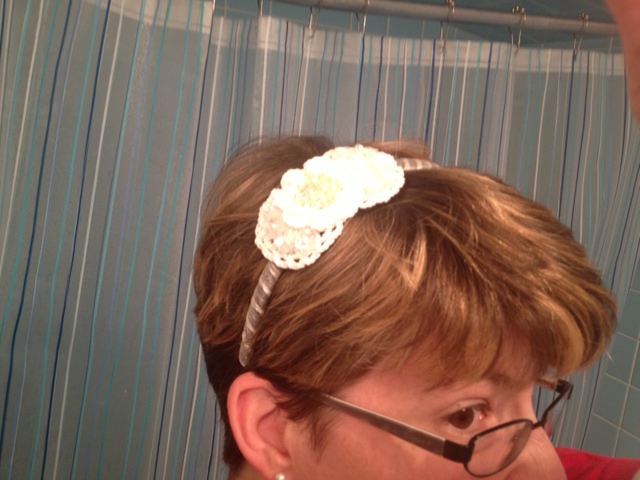
Not bad for $16 and a little crafty fun!

Pingback: A Wedding For Under $500 | Simple. I Just Do.