I plan our dinners (and lunches) weekly, and go grocery shopping every Sunday. I hate shopping on Sunday, especially when there are no freakin’ carts left, but try as I might, I haven’t been able to switch to a better day. Besides, I suspect our particular grocery store is crowded at all hours of every day of the week. It’s an insane place to be.
While browsing on Pinterest for great ideas, I have often come across the cute little menu planner for the week. This is not something I really need, but I kinda want to put one together for a few different reasons:
- I tend to get into ruts, where we eat the same things week in and week out.
- I want to try to use the groceries that I buy for the meals I intend, so that there’s less waste at the end of the week.
- I tend to forget to defrost stuff when necessary.
- I want to motivate myself to continue cooking throughout the week, rather than resorting to McDonald’s or pizza because I’m too tired to try to remember what I had planned for the week.
But I think it can safely be said that mine’s a little different than all the others you’ll see on Pinterest. You’ll see how in a bit…
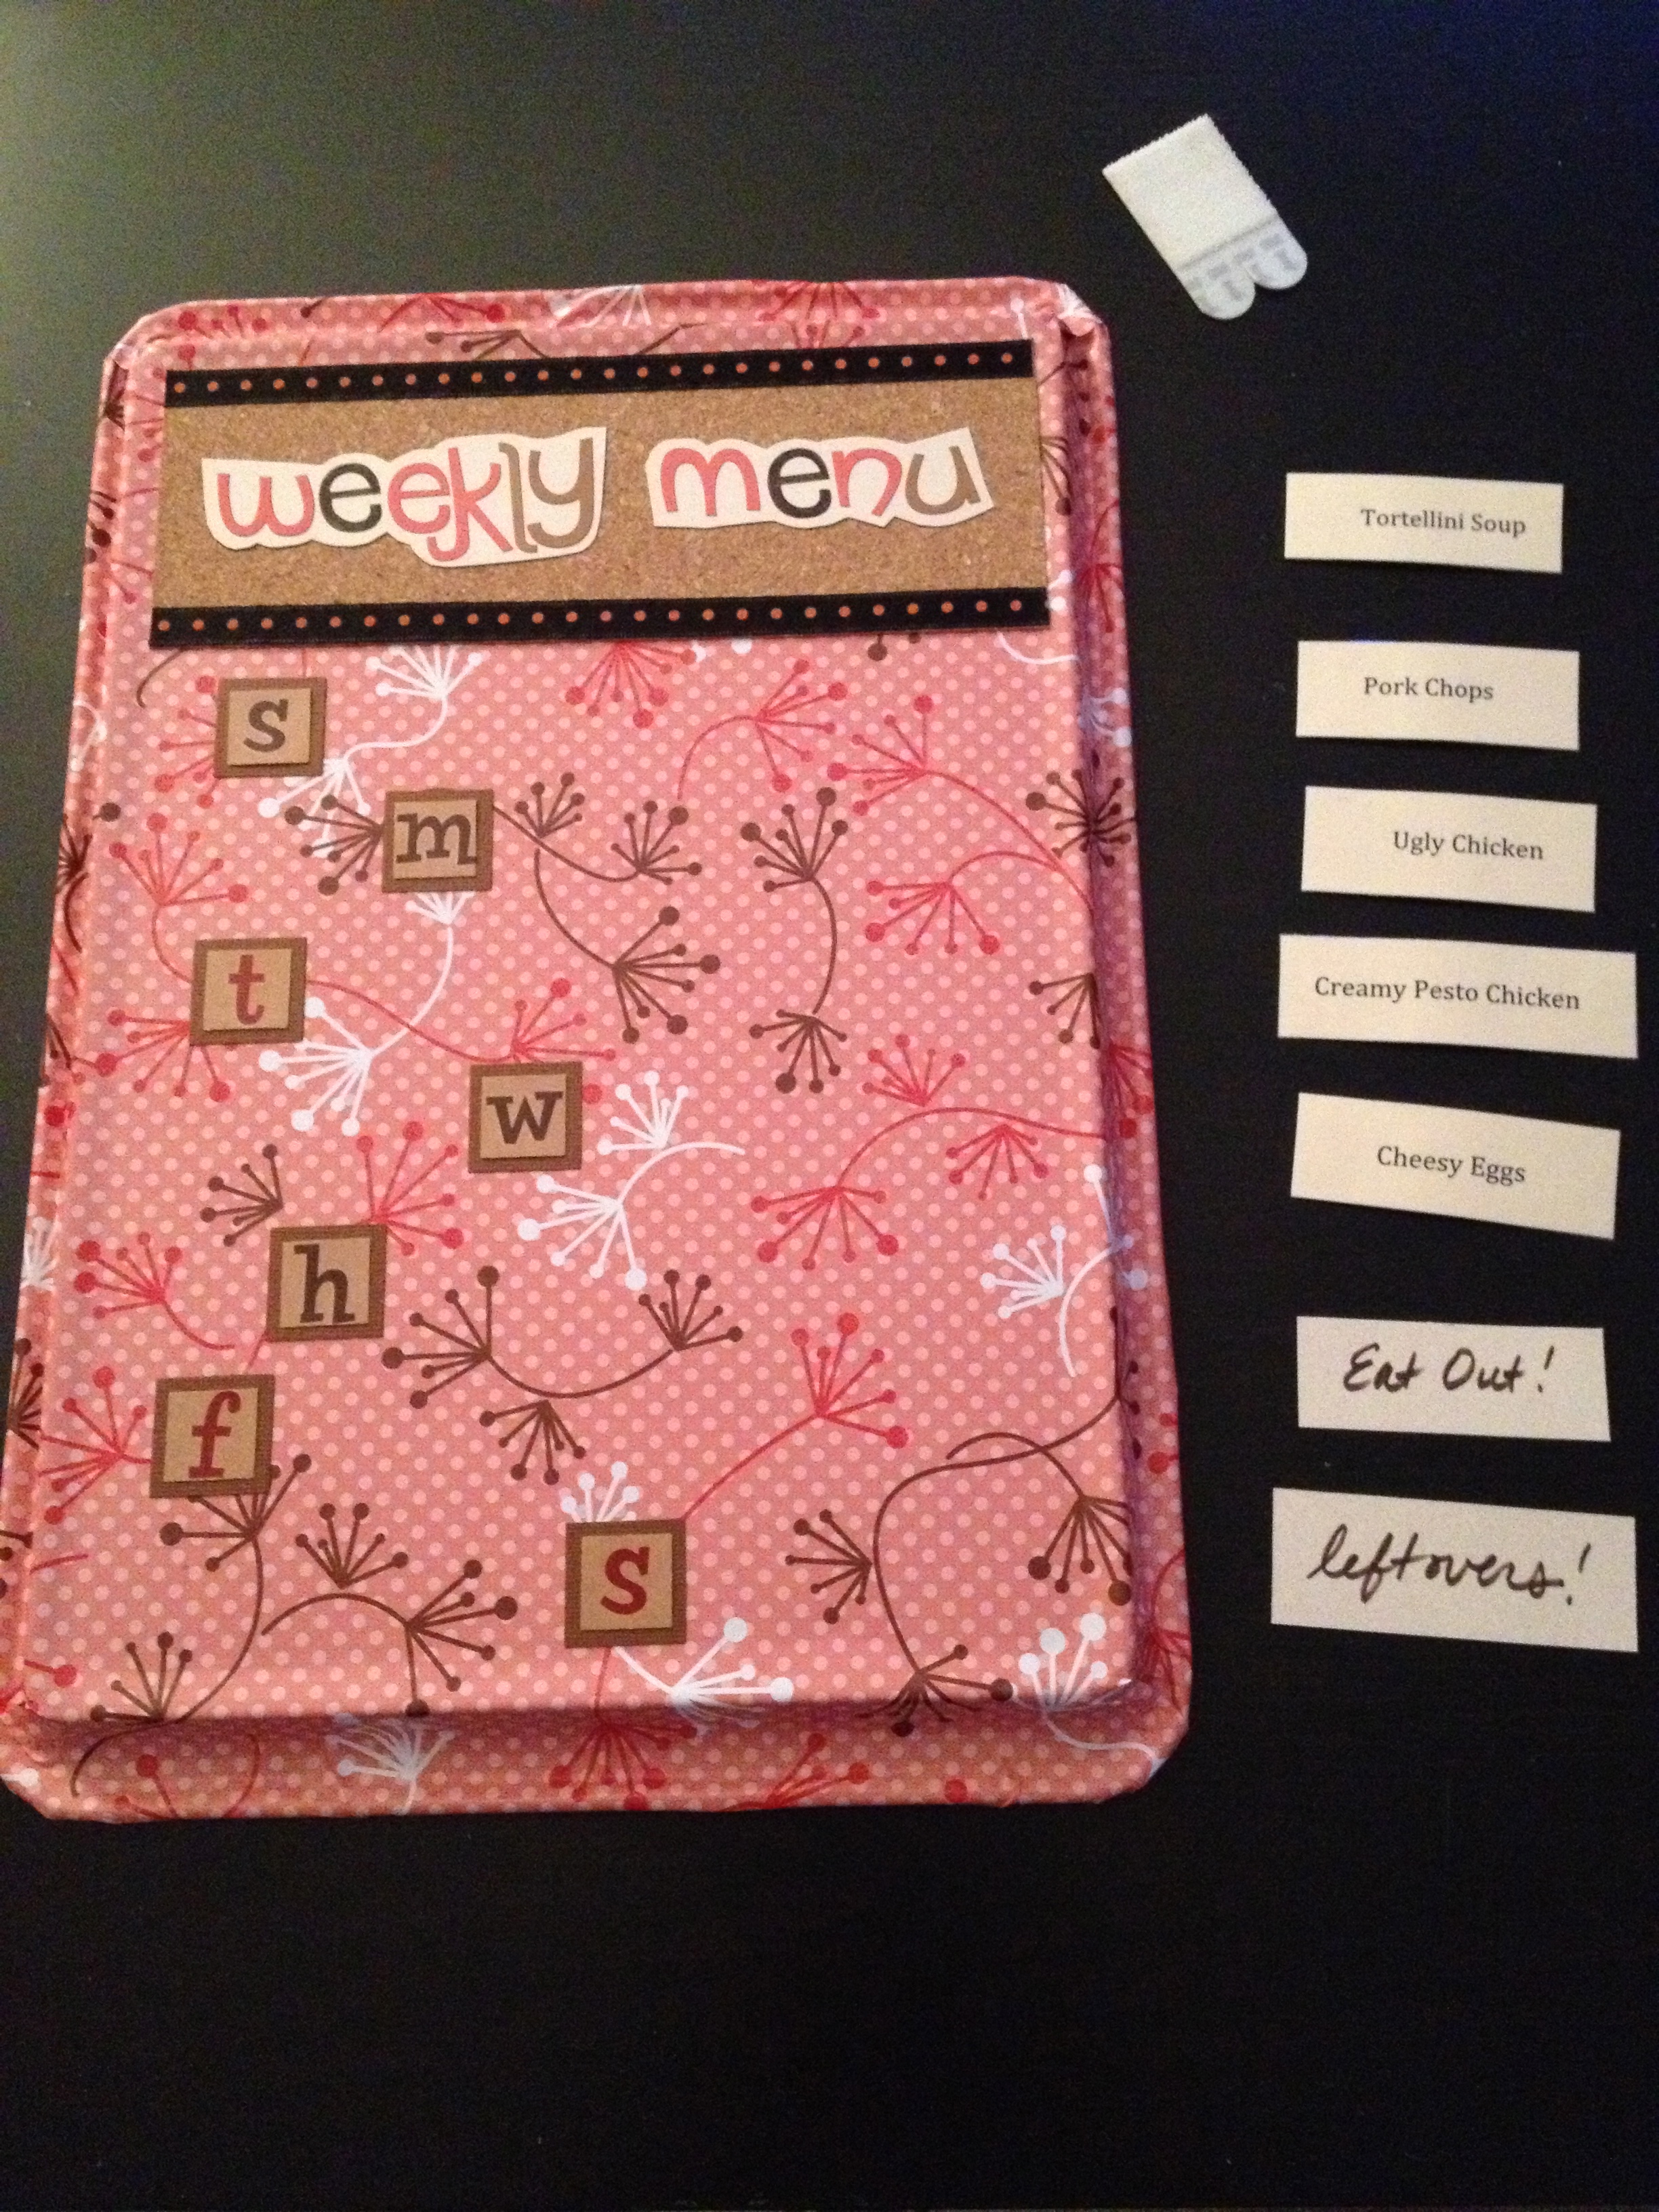
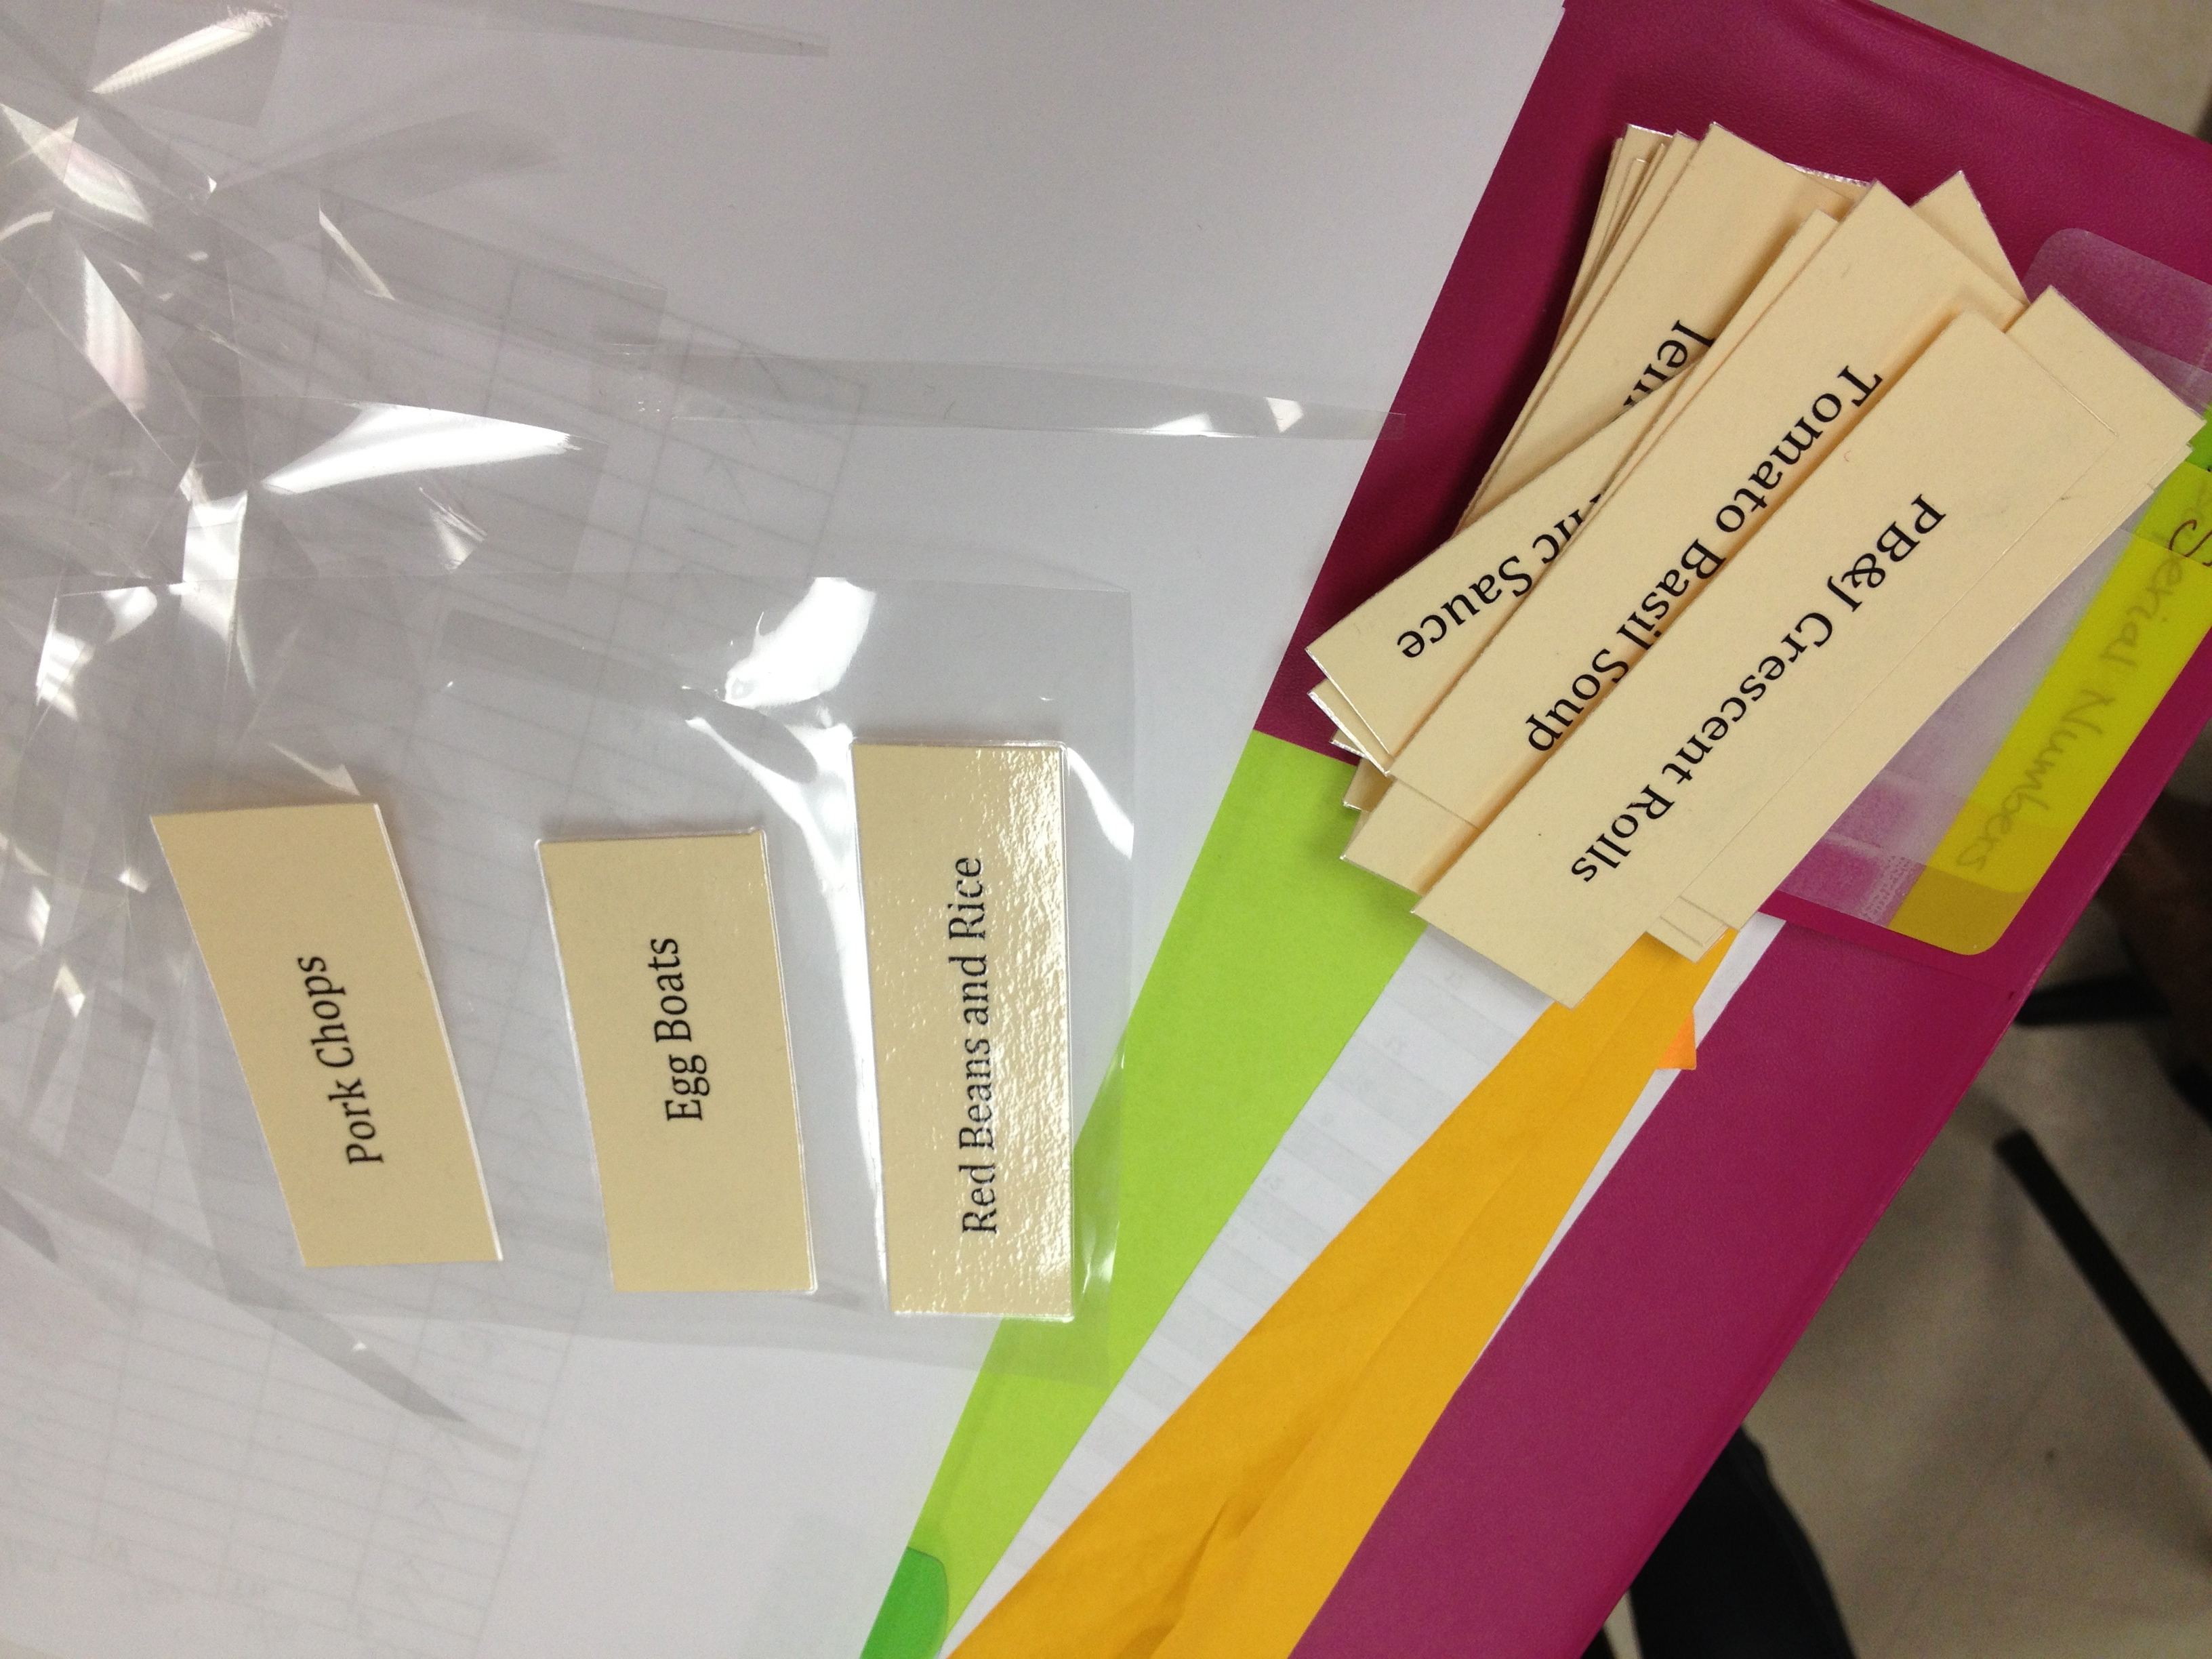
I started with good old Microsoft Word. I didn’t want to write out every single meal, and all of the ingredients on the back, so I opened up Word, went to “Tools”, selected “Labels”, and clicked on “Mail Merge”. This brought up a page of label-shaped cells, and I typed the name of my typically used recipes into each cell. I’m not going to bother putting the ingredients on them, because thanks to Pinterest, I can look it up with a click or two, and I usually build the bulk of my grocery list sitting in front of my computer, anyway. And truth be told, I make most of these so often, I already know what’s in them.

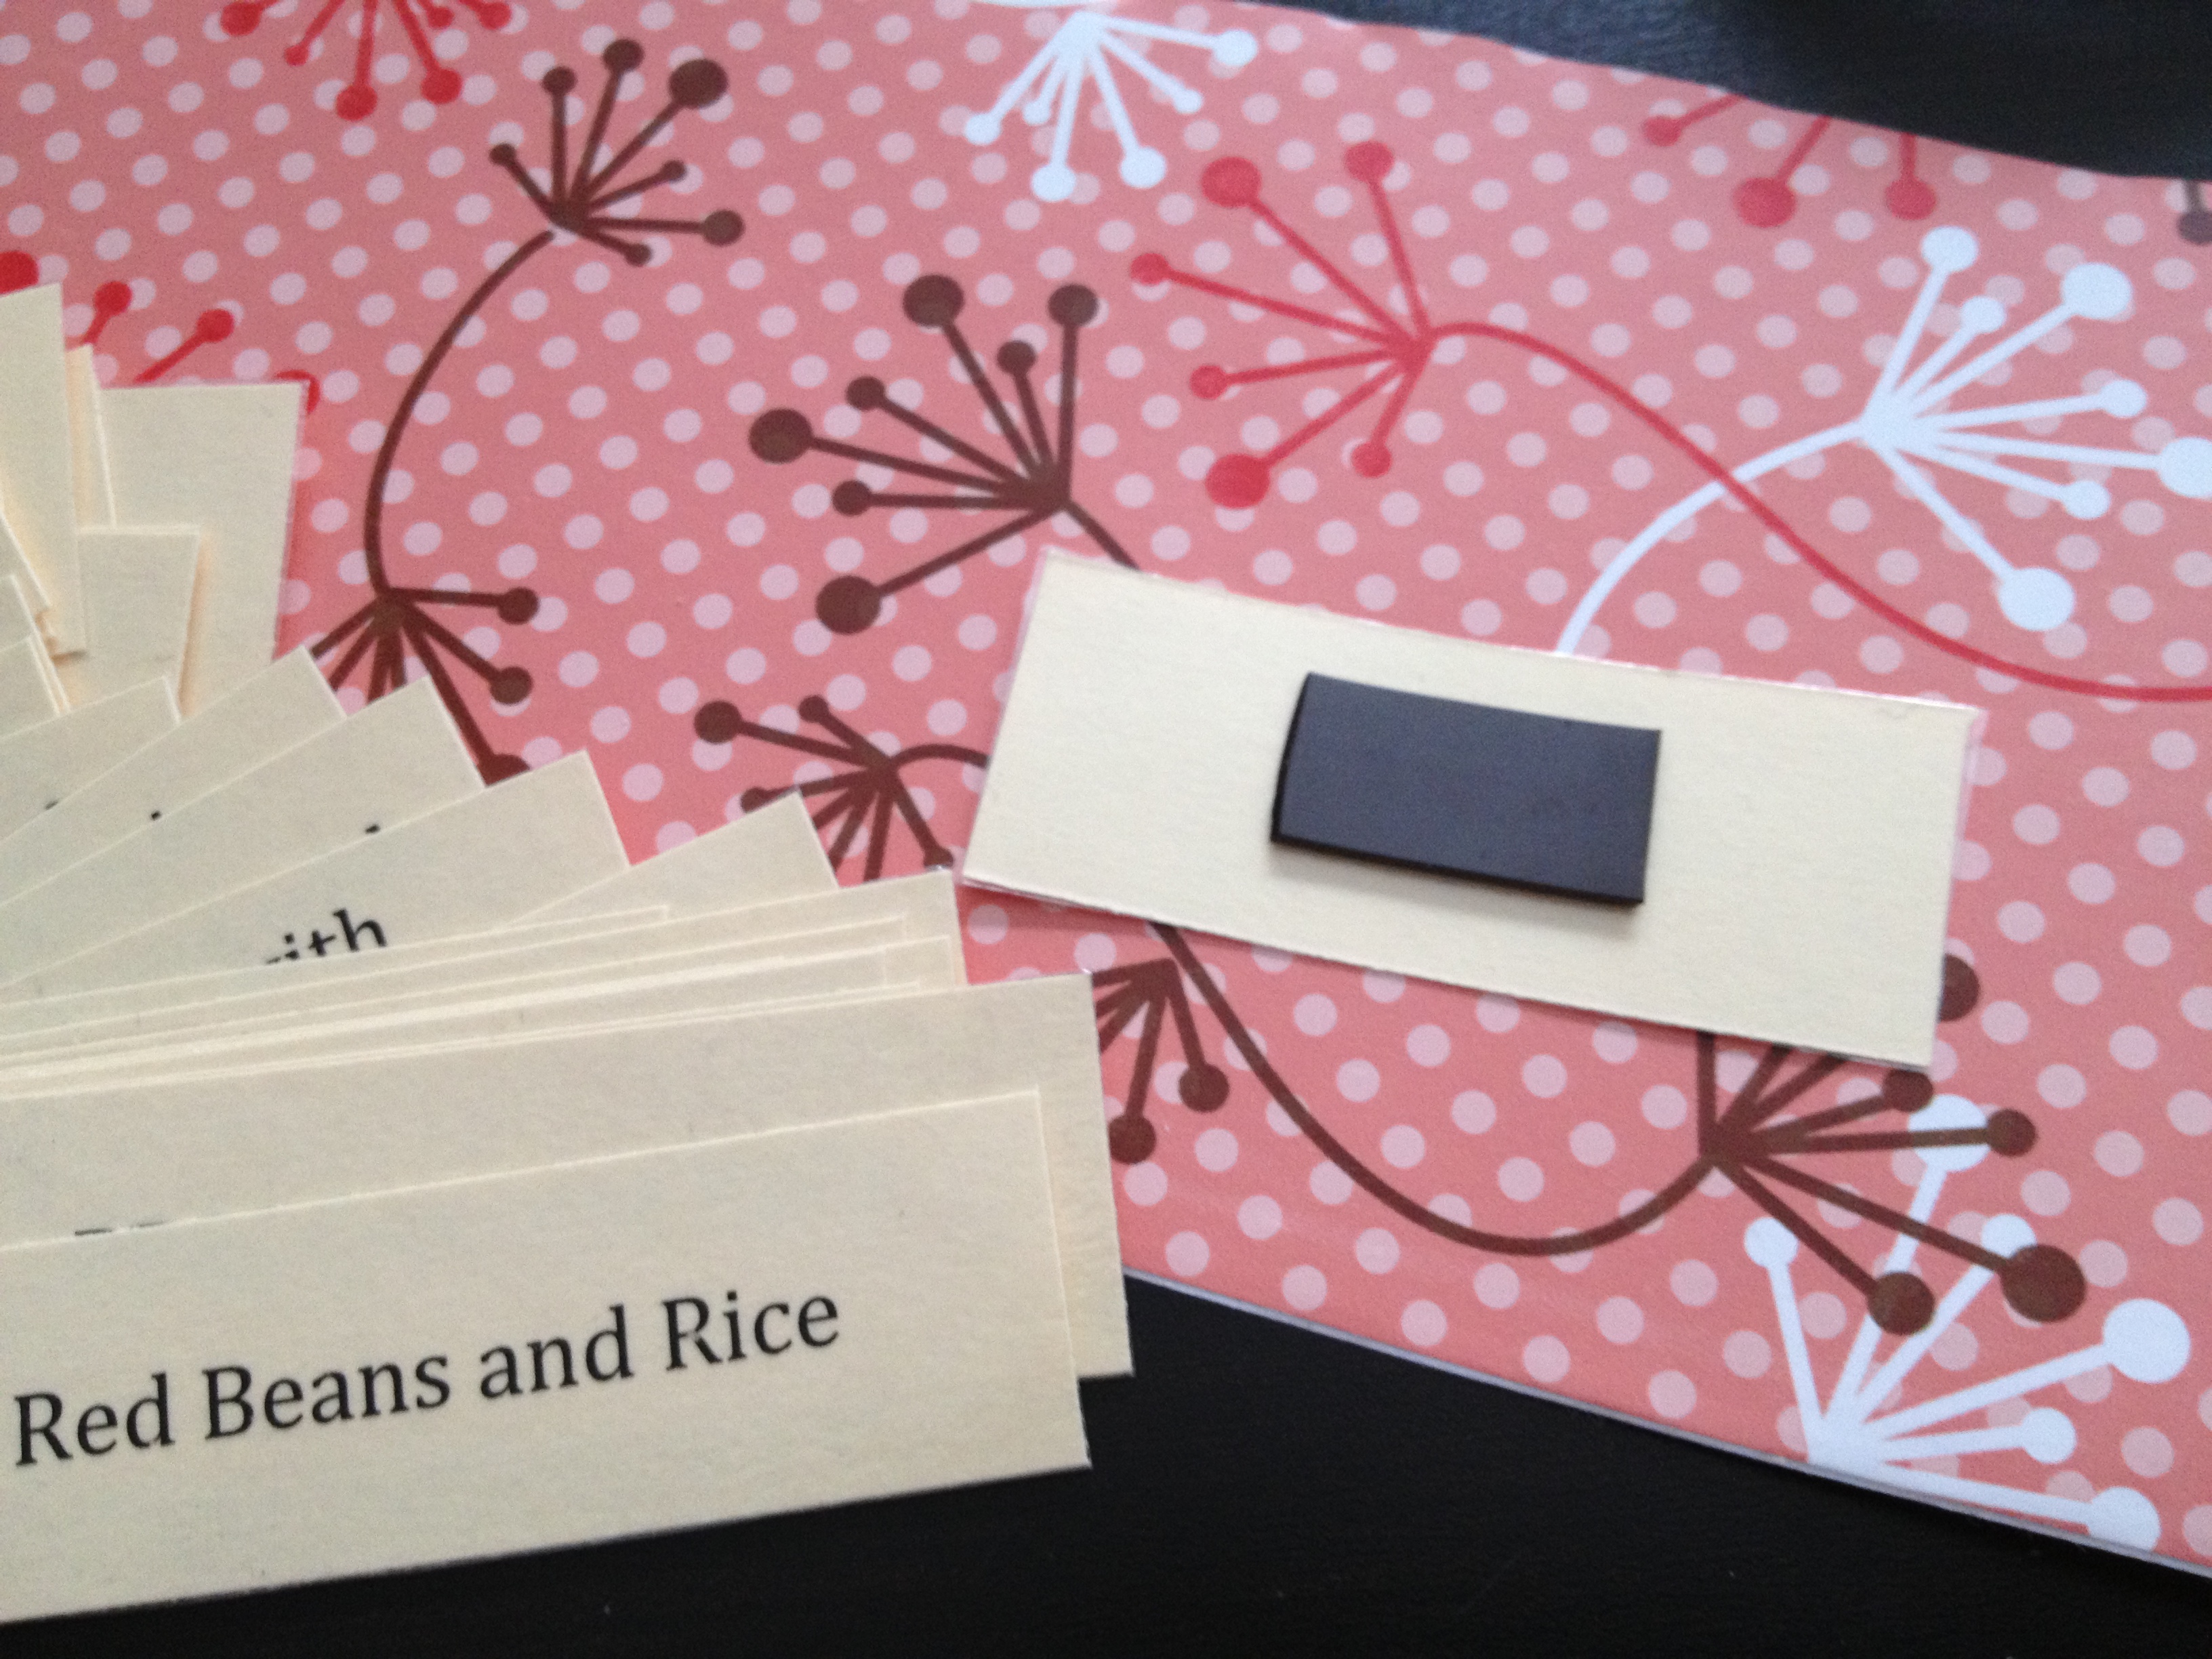
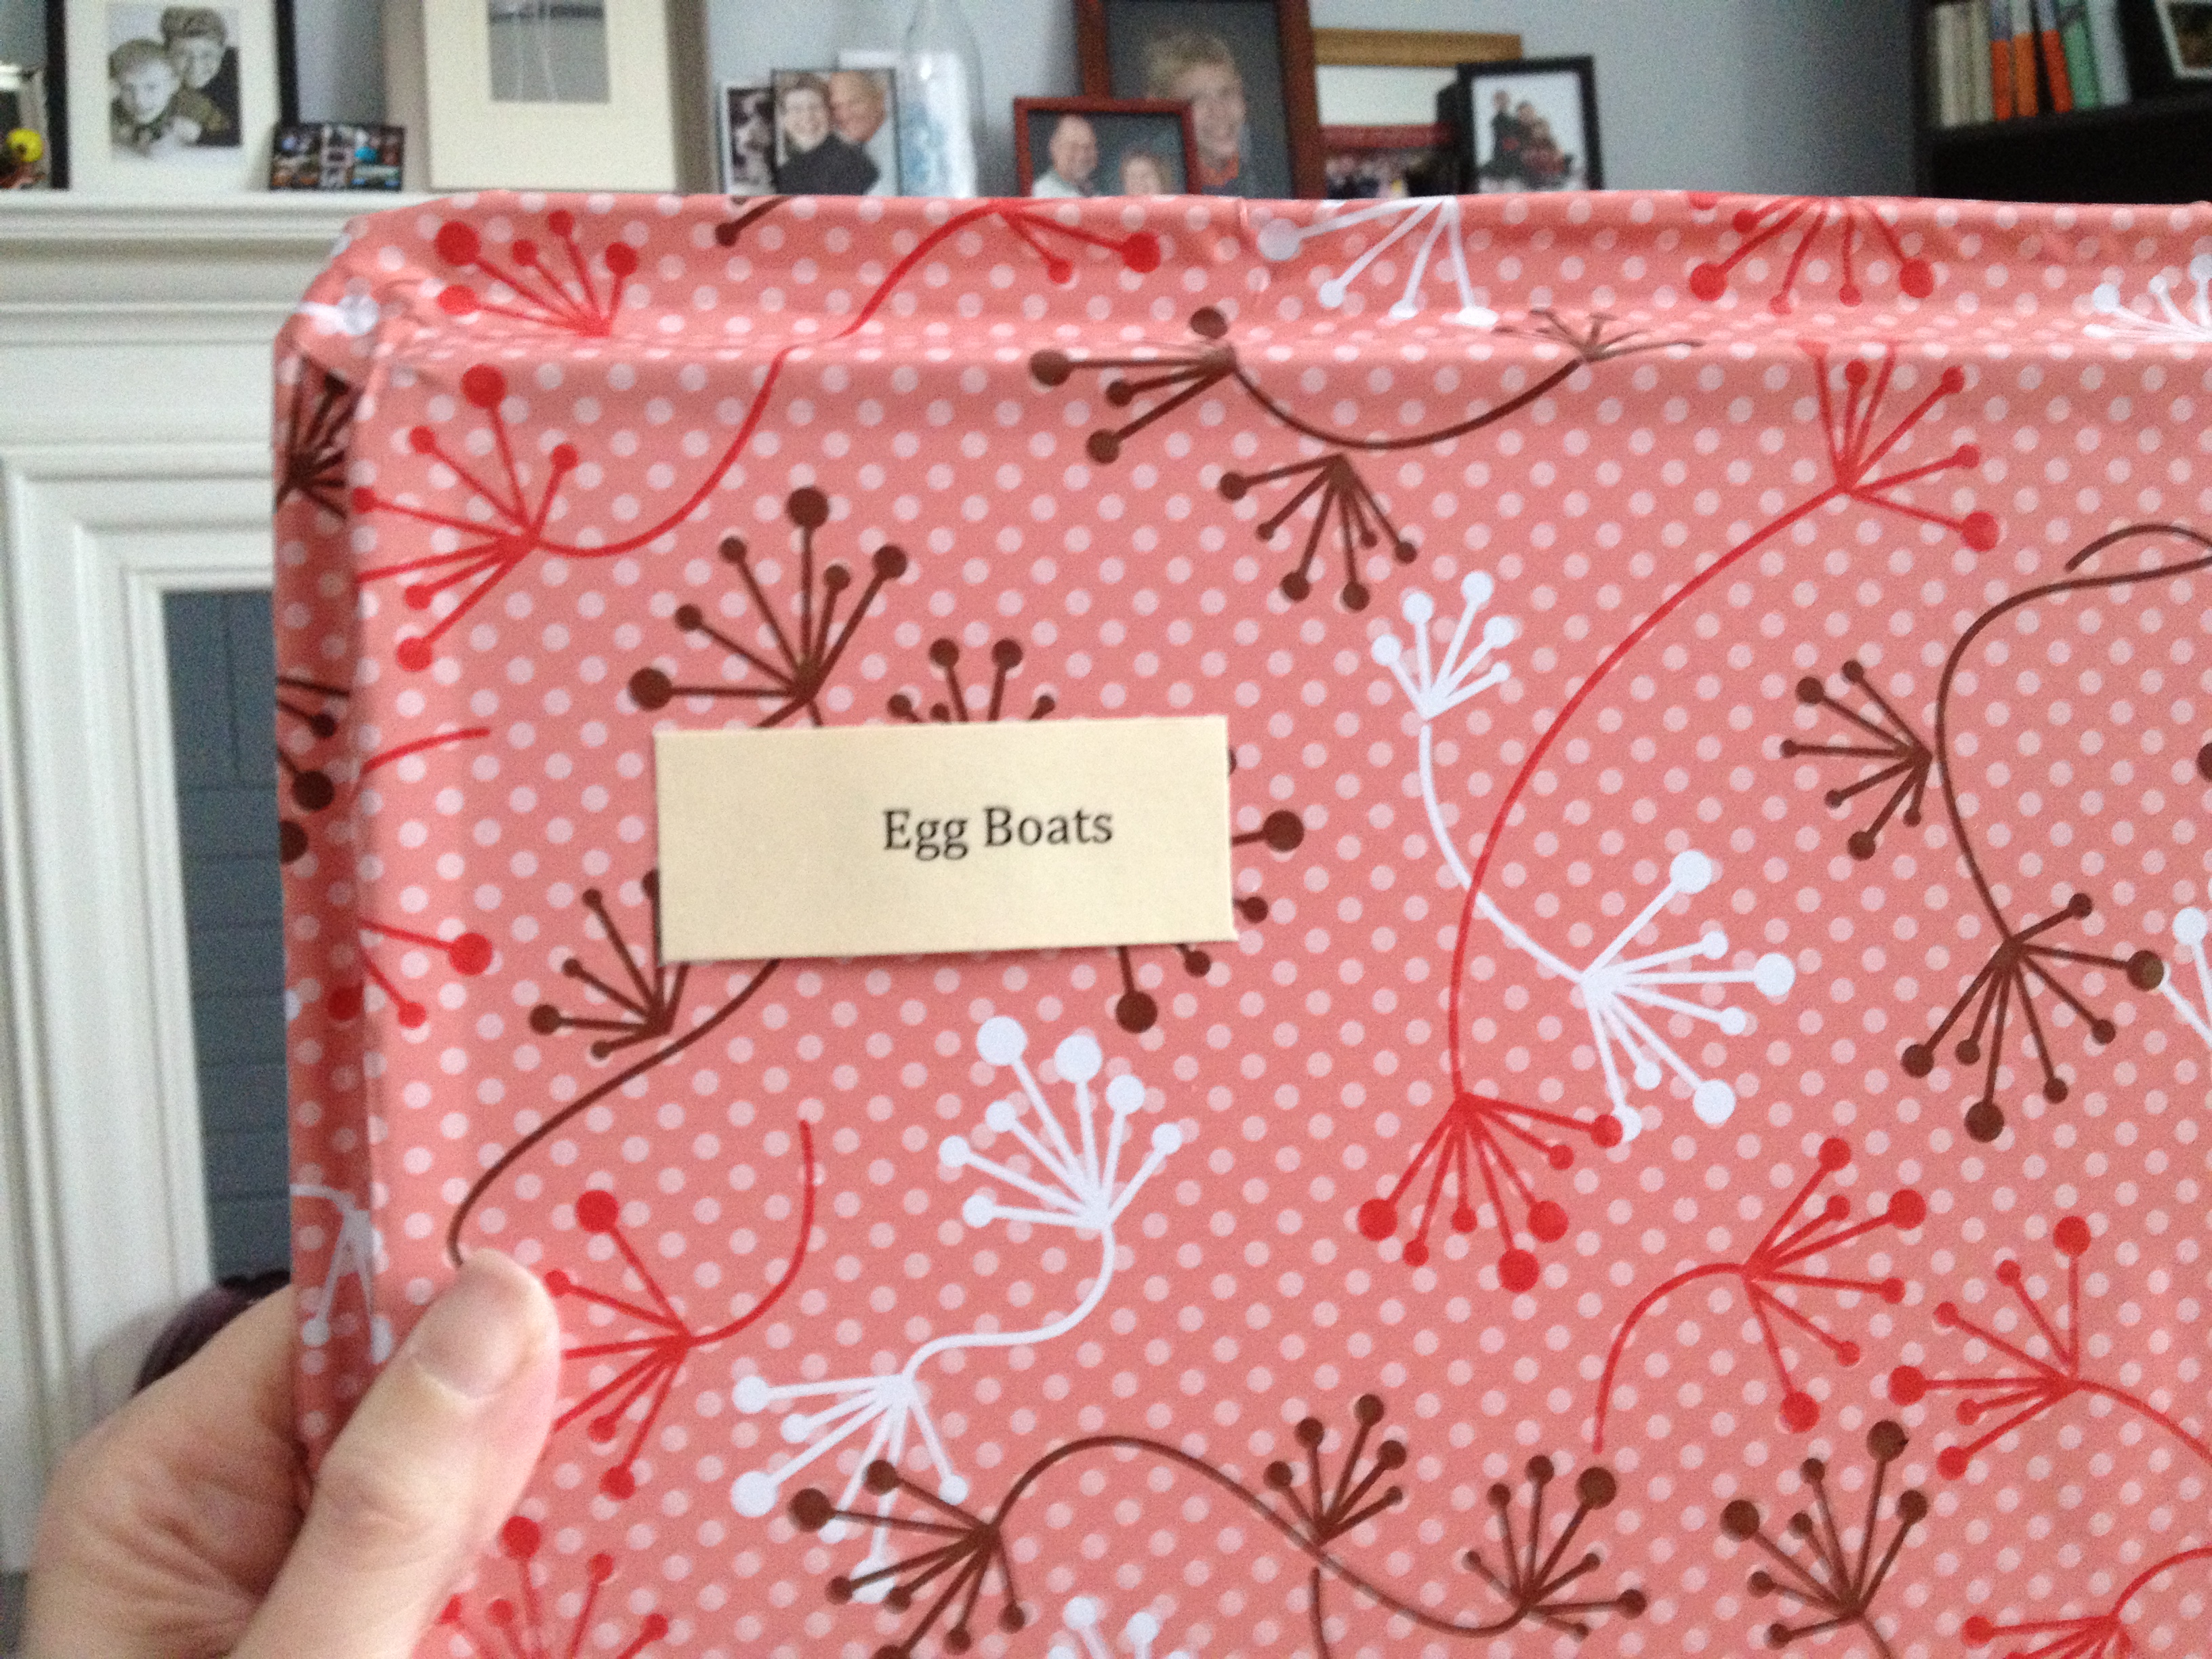
My next step was to print off the “labels” on cardstock, and cut them up (using my cropping tool for scrapbooking for nice straight lines), and then laminating them. I don’t think laminating is necessary, but it will keep the cards nicer for longer. Then I used some adhesive magnet tape to adhere a small magnet strip to each one.

Now I needed a surface, so I used a small cookie sheet that I no longer need, and covered it with contact paper. Here’s how mine is different – I faced the raised edges of the pan towards the wall, so that I can store unused recipe magnets inside for the week. You may also notice that other DIY-ers have used cookie sheets and magnets, but only my recipe cards themselves are magnetized. See? I told you mine is different!


Finally, I used some scrapbooking materials and tools to make it pretty, and mounted the board in my kitchen with those 3M velcro hangers. Now I have a visual reminder of what meals are planned for the week! As I try more recipes from Pinterest (or anywhere!), I can easily add more cards to the mix.